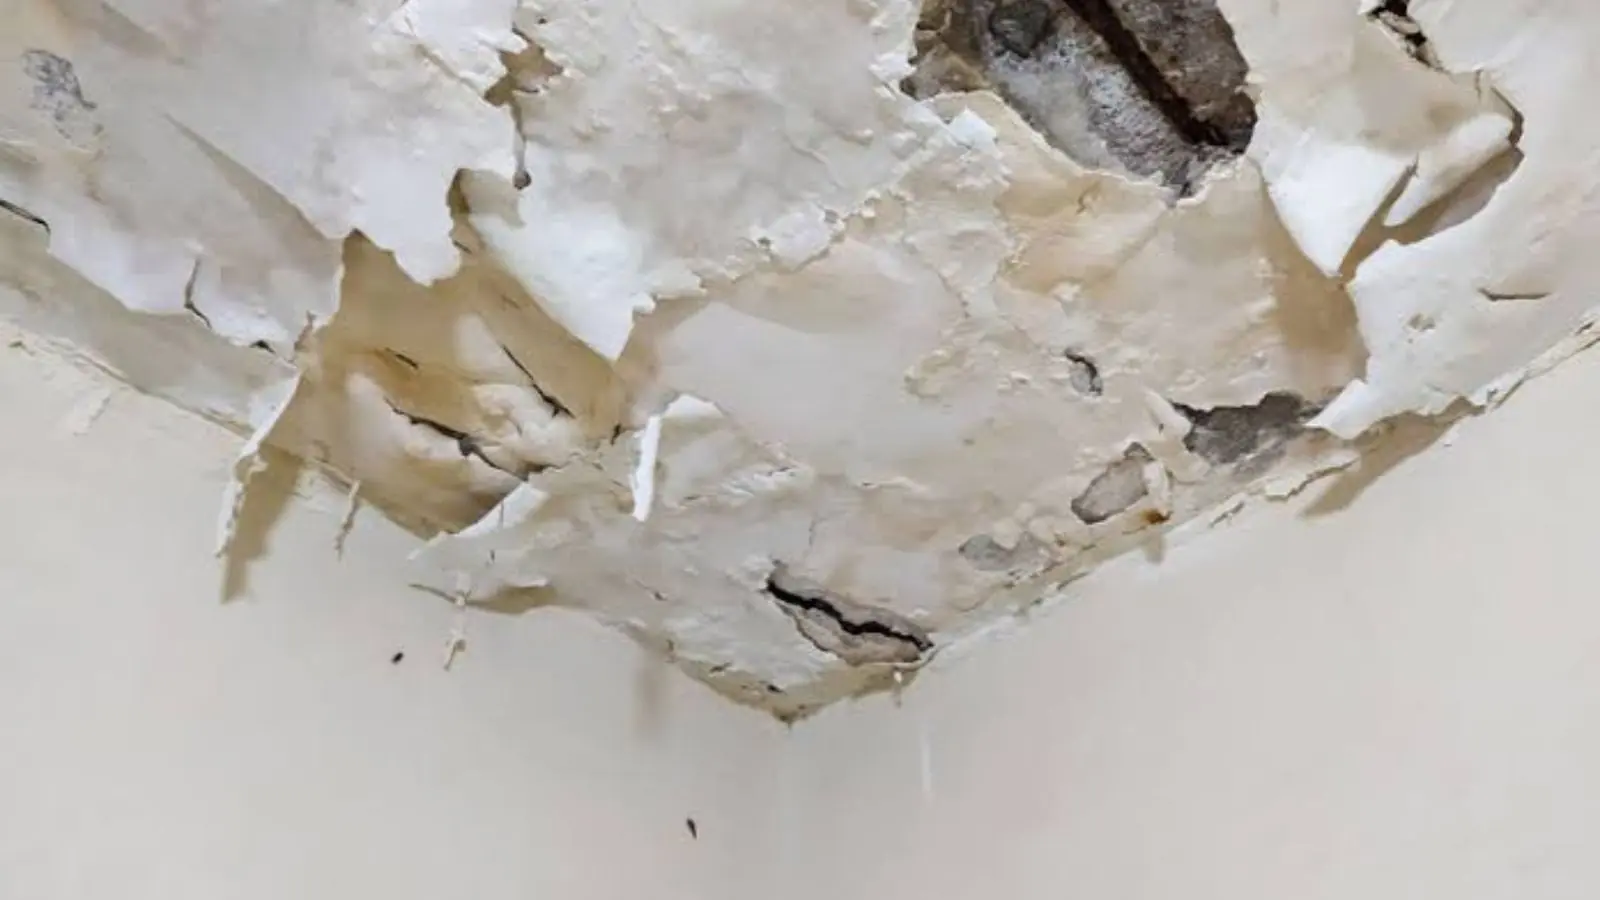
To fix a water damaged ceiling in Temple Hills, you work in a fixed order: find and fix the leak, dry the area, cut out what cannot be saved, then patch, prime and paint. People skip the first two steps because the stain is the part they can see. That is why so many patched ceilings stain again within a season.
Step One: Find And Stop The Source
Go through the likely sources from the top down. In an attic, look at the underside of the roof deck around vents and chimneys for dark staining. Under a bathroom, check the toilet supply, the tub drain and the shower valve access panel. Near an air handler, check the condensate drain pan and the line leaving it.
A plumber or roofer fixes the source. Do not start drywall work until that is done, since new drywall under an active leak will fail. If you rent, report the leak to the manager first and wait for the cause to be fixed.
Step Two: Dry The Area And Confirm It
Drywall and insulation hold water long after the dripping stops. Set fans on the ceiling and run a dehumidifier in a closed room. If insulation above is wet or matted, it needs to come out. A moisture meter reading on the drywall, taken at a dry reference spot and at the damaged spot, tells you when it is dry. Without one, wait several days and check that the stain has not changed color or darkened.
If the area is larger than a few square feet, or the ceiling has sagged, bring in a professional. A crew can map moisture with a thermal camera, and the water mitigation process documents drying readings that your insurer may ask for.
Step Three: Cut Out Wet Drywall
Cut back to the nearest joists on both sides of the damage so that new drywall has solid support. Wear eye protection, gloves and a dust mask, and turn off the power to any fixture in the area. Bag the wet drywall at once. If you see dark growth on the back of the board or on the framing, stop. That is a mold question, and the mold remediation page covers what happens next.
Step Four: Patch, Tape And Finish
- Screw new drywall to the joists with the same thickness as the old ceiling, so the patch is flush.
- Tape the seams with paper or mesh tape and spread joint compound, feathering it wide.
- Sand lightly after the compound dries and wipe the dust.
- Prime with a stain-blocking primer, which keeps old tannins and rust from bleeding through.
- Match the texture if the ceiling has one, using spray texture or a brush technique, and let it dry.
- Paint the whole ceiling plane, not just the patch, so the finish blends.
| Job | Do it yourself? | Why |
|---|---|---|
| Small dry stain, source fixed | Usually yes | Primer and paint, low risk |
| Patch under about 2 square feet | Often yes | Basic drywall skills are enough |
| Large or sagging ceiling | Call a pro | Weight, wires and wet insulation |
| Any dark growth | Call a pro | Containment and cleanup needed |
| Collapsed ceiling | Call a pro | Debris, electrical and structural check |
Tools And Materials For A Small Patch
A small ceiling patch needs a drywall saw or utility knife, a drill or screwdriver, drywall screws, a piece of drywall matched to the ceiling thickness, paper or mesh tape, joint compound and a wide knife, fine sanding sponges, stain-blocking primer and paint. For textured ceilings, add a can of spray texture. Eye protection, gloves and a dust mask are not optional.
A moisture meter is the one tool people skip and regret. A basic pin or pinless meter costs less than a bad guess, and a reading on the framing tells you whether the cavity you are about to close is still damp.
Mistakes That Make A Ceiling Repair Fail
- Closing the ceiling before the source was fixed and the cavity confirmed dry.
- Using a thinner board than the existing ceiling, which leaves a visible dip.
- Skipping primer, so the old stain bleeds through the new paint.
- Painting only the patch, which leaves a visible rectangle under raking light.
- Leaving wet insulation above the patch, which keeps the cavity damp and invites mold.
Permits And Inspections In Prince George's County
Prince George's County's Department of Permitting, Inspections and Enforcement, known as DPIE, handles permit processing and building code enforcement for residential and commercial projects. A small drywall patch does not usually need a permit, but a larger rebuild that touches wiring, structure or fire-rated assemblies may.
The practical step is to ask your contractor whether the job needs a permit and to keep the paperwork, since a lender or buyer may ask for it later. DPIE can answer questions about your specific scope.
Source type: county government agency description of DPIE
If you want help from the ground up, the water damage repair page lists what is included, and a crew can also handle the cleanup of wet debris that comes before it. For homes closer to Clinton or Oxon Hill, the same crews can travel for an assessment.
Common Questions
Can I just cover a ceiling stain with stain-blocking primer?
Only after the source is fixed and the drywall is dry. Primer over a wet ceiling traps moisture and invites mold. Confirm dryness with a moisture meter first.
How long should I wait before patching a ceiling?
Until the area is dry, which can be a few days for a small spot and a week or more for a larger one with wet insulation. A meter reading is better than a guess.
Does a ceiling patch in Prince George's County need a permit?
A small patch usually does not, but a larger rebuild that touches wiring, structure or fire-rated assemblies might. DPIE is the county office that handles permits and inspections, so ask your contractor or call DPIE about your scope.
Why does my patch show through the paint?
Joint compound absorbs paint differently from drywall paper, so an unprimed patch can show a flat spot. Prime the patch, and paint the whole ceiling plane in two coats.